So you want to master the art of achieving the perfect winged eyeliner? Well, look no further because I’ve got you covered! We all know that nailing that flawless flick can be quite the challenge, but fear not, I’m here to share some foolproof tips and tricks that will make your winged eyeliner dreams a reality. From choosing the right tools to mastering the technique, you’ll soon be sporting wings that are sharp enough to cut through the drama and bold enough to make a statement. Get ready to rock your eyeliner game like a pro!

This image is property of images.unsplash.com.
Preparation
Before diving into the world of winged eyeliner, it’s important to prep your skin. Start by cleansing your face thoroughly to remove any dirt, oil, or makeup residue. This will provide a clean canvas for your eyeliner application. After cleansing, make sure to moisturize your skin to keep it hydrated and smooth. Well-hydrated skin will help the eyeliner glide on easily and prevent any flakiness or dryness that could affect the end result.
Once your skin is prepped, it’s time to prime your eyelids. Eyelid primers create a smooth base for your eyeliner and prevent creasing throughout the day. Apply a small amount of primer to your eyelids and blend it out evenly. This step will not only enhance the longevity of your eyeliner but also intensify the color payoff.
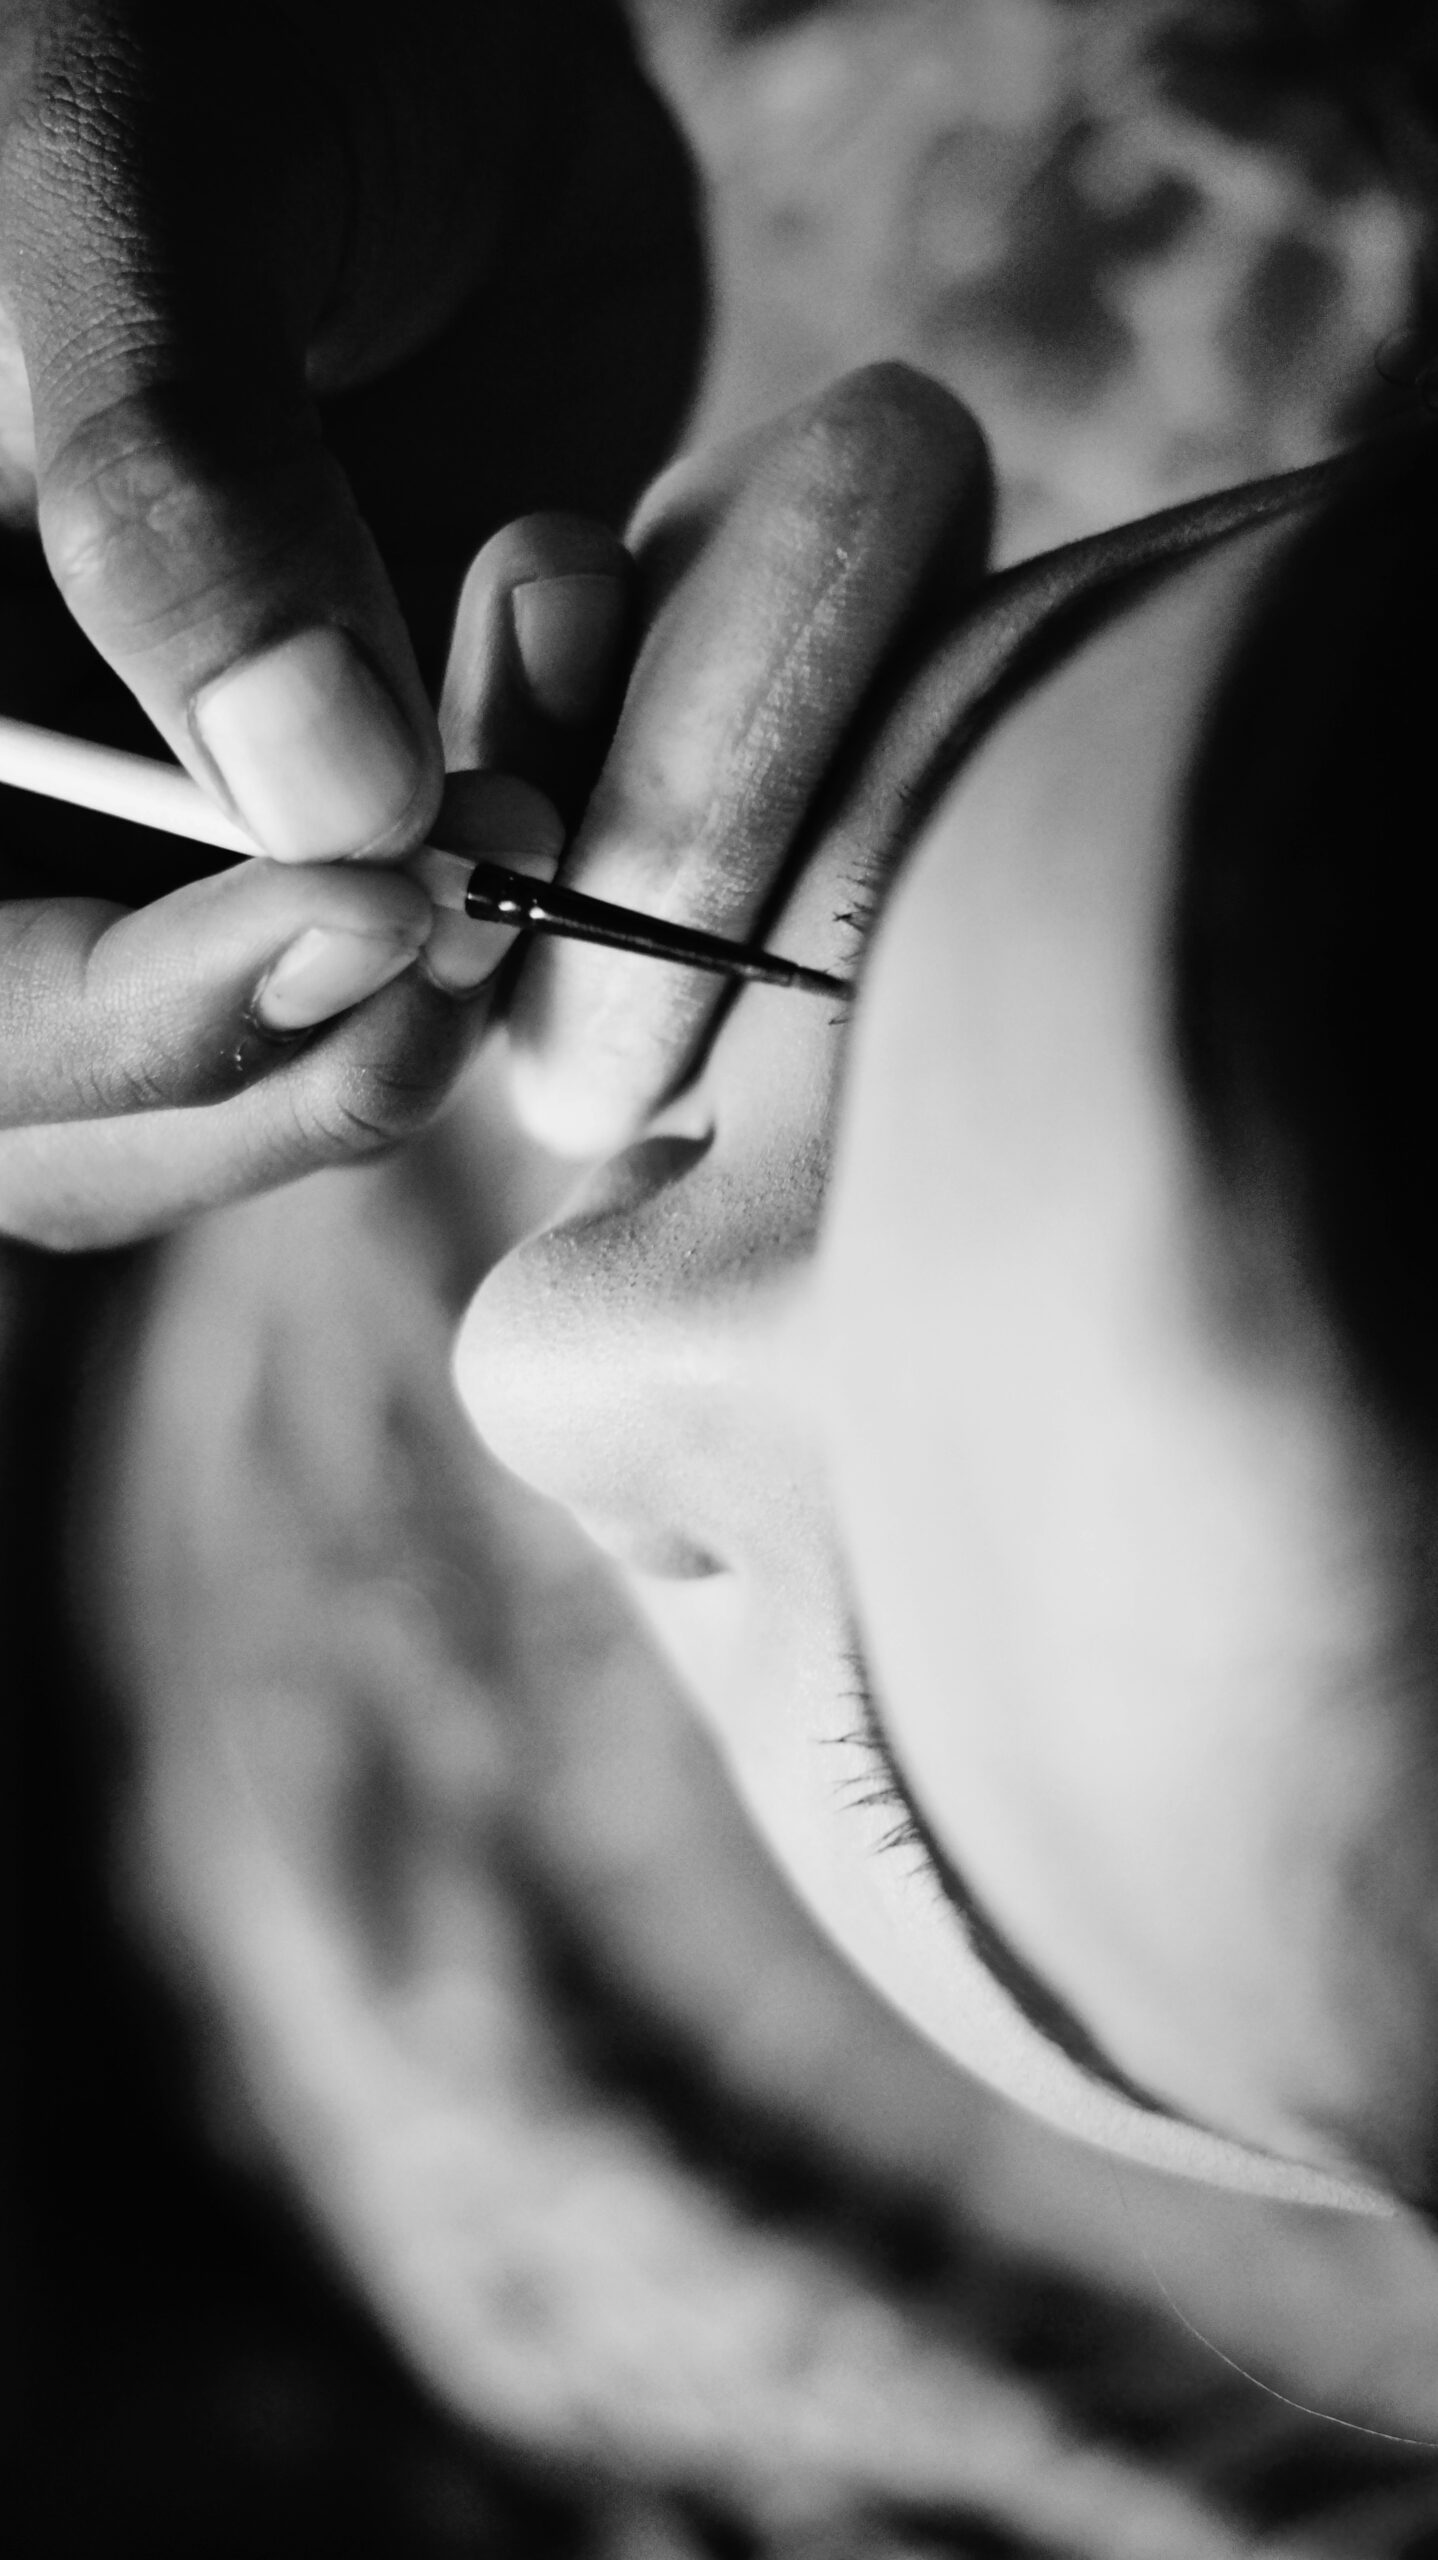
Now that your skin is cleanse and moisturized and your eyelids are primed, it’s time to gather the necessary tools. For a flawless winged eyeliner application, you’ll need an eyeliner of your choice (liquid, gel, or pencil), an angled eyeliner brush or a fine-tipped pencil brush, a concealer brush (for correcting mistakes), cotton swabs, and a makeup remover.
Choosing the Right Eyeliner
Choosing the right eyeliner is crucial for achieving the perfect winged eyeliner look. Let’s explore the different types available and their unique characteristics:
-
Liquid eyeliner: Liquid eyeliner provides a precise and intense line. It typically comes in a tube with a felt-tip or brush applicator. Liquid eyeliner is perfect for creating sharp and defined wings. However, it requires a steady hand and some practice to master the application.
-
Gel eyeliner: Gel eyeliner comes in a pot and is applied with a brush. It offers a creamy texture that glides smoothly on the eyelids, making it easier to control. Gel eyeliner is great for both bold and delicate winged looks. It allows you to create precise lines and offers long-lasting wear.
-
Pencil eyeliner: Pencil eyeliner is the most beginner-friendly option. It comes in a pencil form and can be easily smudged and blended. Pencil eyeliner is ideal for soft and smoky winged looks. It might not offer the same precision as liquid or gel eyeliner, but it provides a more effortless and natural finish.
Choose the eyeliner type that suits your preferences and skill level, and let’s move on to creating the wing!

This image is property of images.unsplash.com.
Creating the Wing
Before applying the actual eyeliner, you need to decide on the type of wing shape you want. The wing shape can vary from a subtle flick to a bold and dramatic wing. Experiment with different shapes to find what suits your eye shape and personal style.
If you’re a beginner or want to ensure a precise wing, using tape as a guide can be a helpful technique. Place a small piece of tape diagonally from the outer corner of your eye towards your temple. This will act as a stencil for your wing and provide a clean, sharp line. Once you’ve applied the eyeliner, carefully remove the tape for a perfect wing.
If you’re feeling confident or prefer a freehand approach, you can skip the tape and create the wing by hand. Start by drawing a thin line that follows the natural curve of your lower lash line, extending it slightly beyond the outer corner of your eye. Then, draw another line from the outer corner towards the center of your eyelid, creating the desired wing shape. Connect the wing to the upper lash line to form a seamless line.
Another technique involves using a spoon or a card as a guide. Place the spoon or card diagonally against your outer eye corner, angling it towards your temple. Use the straight edge of the spoon or card as a guide to draw the outer line of the wing. Then, fill in the shape and connect it to your upper lash line.
Applying the Eyeliner
With your wing shape successfully created, it’s time to apply the eyeliner. Follow these steps for a seamless and precise application:
-
Start from the outer corner of your eye where the wing begins. Hold the brush or pencil at a slight angle and apply the liner as close to the lash line as possible. Use short, feathery strokes to gradually build the line.
-
Draw a thin line towards the inner corner of your eye, connecting it to your upper lash line. This line should gradually become thinner as it moves towards the inner corner.
-
To connect the wing to the line, create a small triangle shape by extending the line from the outer corner towards the center of your eyelid. Fill in the triangle, ensuring a smooth transition between the wing and the upper lash line.
-
If you want a more dramatic look, you can thicken the liner by going over the line with additional layers. This will add intensity and depth to your winged eyeliner.

This image is property of images.unsplash.com.
Smoothing and Correcting
Even the most skilled makeup enthusiasts make mistakes, especially when it comes to winged eyeliner. Don’t worry if your wings aren’t perfectly symmetrical or if the lines aren’t as crisp as you’d like. Here are some tips to smooth out any imperfections:
-
Use a cotton swab dipped in makeup remover to clean up any smudges or uneven lines. Gently swipe along the edges to create neat, symmetrical wings.
-
If your wings are looking uneven, you can use a concealer brush with a small amount of concealer or foundation to correct any mistakes. Carefully trace along the edges of the wing to create a more defined and precise shape.
Remember, practice makes perfect, so don’t get discouraged if you don’t achieve your desired results at first. Keep experimenting and refining your technique, and you’ll soon become a winged eyeliner pro!
Tips and Tricks
Here are some additional tips and tricks to enhance your winged eyeliner game:
-
Practice on your non-dominant eye first: If you’re new to winged eyeliner or trying out a new technique, start by practicing on your non-dominant eye. This will help you gain confidence and control before tackling the trickier eye.
-
Apply eyeshadow before eyeliner: To create a seamless and polished look, start by applying eyeshadow to your eyelids. This will provide a base and make it easier to blend the eyeliner into your eye makeup.
-
Set the eyeliner with eyeshadow or powder: To ensure longevity and prevent smudging, lightly dust translucent or matching eyeshadow over your eyeliner. This will set the liner in place and help it stay put throughout the day.
Winged Eyeliner for Different Eye Shapes
Not all eyes are created equal, and certain techniques and wing shapes can complement different eye shapes. Here are some tips for creating the perfect winged eyeliner for various eye shapes:
-
Almond-shaped eyes: Almond-shaped eyes can pull off various wing shapes. Experiment with both subtle and dramatic wings to enhance the natural shape of your eyes.
-
Hooded eyes: For hooded eyes, it’s best to create a thinner, subtle wing that follows the natural curve of your eye. Avoid creating a thick or extended wing that might get lost in the hooded fold.
-
Round eyes: To elongate round eyes, opt for a longer wing extending outward towards the temple. This will create the illusion of length and add a touch of drama to your eye shape.
-
Downturned eyes: Downturned eyes can benefit from an upward wing that lifts and opens up the eye shape. Create a wing that angles slightly upward from the outer corner towards the temple.
-
Monolid eyes: For monolid eyes, a wing that starts thinner at the inner corner and gradually gets thicker towards the outer corner can create a sultry and defined look.
Experiment with different wing shapes and techniques to find the style that enhances your unique eye shape.
Winged Eyeliner for Different Occasions
Winged eyeliner is a versatile and timeless makeup look that can be adapted to suit various occasions. Here are some ideas for different winged eyeliner styles for different occasions:
-
Everyday winged eyeliner: Keep it simple and subtle for everyday wear. Opt for a thin, delicate wing that enhances your eyes without overpowering your overall look.
-
Dramatic winged eyeliner: For special events or nights out, go for a bold and dramatic wing. Extend the wing further outwards and make it thicker for a statement look.
-
Vintage-inspired winged eyeliner: Embrace the retro vibes by recreating a vintage-inspired wing. Create a sharp, cat-eye wing that harks back to the glamorous looks of the past.
-
Natural winged eyeliner: If you prefer a more natural and effortless look, create a soft, smudged wing using a pencil eyeliner. This style gives a touch of definition without appearing too harsh or intense.
Adapt your winged eyeliner style to the occasion and your personal style to create the perfect look every time.
Fixing Common Winged Eyeliner Mistakes
Even the most experienced winged eyeliner lovers can make mistakes. Here’s how to fix some common mishaps:
-
Crooked wing: If your wing is crooked, use a cotton swab dipped in makeup remover to gently erase and reshape the wing. Take your time and make small adjustments until both wings appear symmetrical.
-
Uneven wings: To balance out uneven wings, use a concealer brush with a small amount of concealer or foundation. Carefully trace along the edges of the wing, extending or adjusting as needed to create a harmonious look.
-
Excessive liner thickness: If your liner ended up thicker than intended, use a cotton swab or a clean angled eyeliner brush to remove some of the excess. Gently swipe along the edge of the liner to create a thinner line.
-
Smudged liner: If your liner smudges or transfers throughout the day, set it with some eyeshadow or powder. The powder will help absorb excess oils and keep your liner in place.
Remember to be patient with yourself and embrace the learning process. Everyone makes mistakes, and they can often be easily corrected with a steady hand and a touch of makeup remover.
Removing Winged Eyeliner
At the end of the day, removing your winged eyeliner is just as important as applying it. Here’s how you can effectively remove your winged eyeliner without irritating your delicate eye area:
-
Use a gentle eye makeup remover: Choose a gentle eye makeup remover that is specifically formulated to remove stubborn eye makeup without causing irritation. Apply a small amount to a cotton pad and gently swipe it over your eyeliner, focusing on the winged area.
-
Cleanse the area with a cleanser or micellar water: After removing the majority of the eyeliner with a makeup remover, cleanse your face with a mild cleanser or micellar water. This will ensure that all traces of eyeliner, along with any remaining makeup and dirt, are thoroughly removed. Gently massage the cleanser or micellar water onto your face, including the eyelid area, and rinse with lukewarm water.
Taking the time to properly remove your winged eyeliner will help maintain the health of your skin and prevent any potential buildup or irritation. Remember to be gentle and avoid rubbing or pulling on the delicate eye area.
In conclusion, achieving the perfect winged eyeliner is a skill that comes with practice and patience. By following the steps outlined in this article, you’ll be well on your way to creating flawless wings that enhance your eyes and elevate your makeup look. Embrace the versatility of winged eyeliner, experiment with different techniques, and don’t be afraid to make mistakes. With determination and a friendly tone, anyone can master the art of winged eyeliner and create stunning looks for any occasion. So go ahead, grab your eyeliner and start winging it with confidence!